Motion Stage Reference
Reference for the UI elements and features within Motion Stage.
Overview

Y-up Axis.
Character Settings.
Playback Timeline.
Control Tabs.
Control Settings.
Animation Seed and Generator
1. Y-up Axis

Motion Stage uses a right-handed Y-Up Axis:
X is left
Y is up
Z is forward.

2. Character Settings

The character settings allow you to change physical aspects of the avatar and toggle certain visual features in the 3D space.
The following settings occur from top to bottom in the UI:
Avatar Settings: adjusts the avatar's gender and weight.
Follow Character: enabled by default, it permits the camera to follow the avatar's movements.
Run in Place: disables the 3D space's grid lines and pathing arrows while the camera follows the avatar's movements.
Show Skeleton: displays the avatar's skeleton and joint structure.
Show Root Path: displays the root path which the avatar travels during the animation.
3. Playback Timeline

This section includes buttons and controls for:
Pause and playback.
Real-time draggable timeline.
Automatic playback repeat.
Playback speed.
4. Control Tabs

There are three different control tabs:
Styles: adjusts the animation's personality and expression using Styles. Learn more in the Styles concepts.
Motion: fields and values for adjusting the animation's pathing and movement. Learn more in The Motion Engine concepts.
Options: additional features for looping, mirroring, and adding variations to animations.
5. Control Settings

Contains all adjustment and customization options for generating an animation.
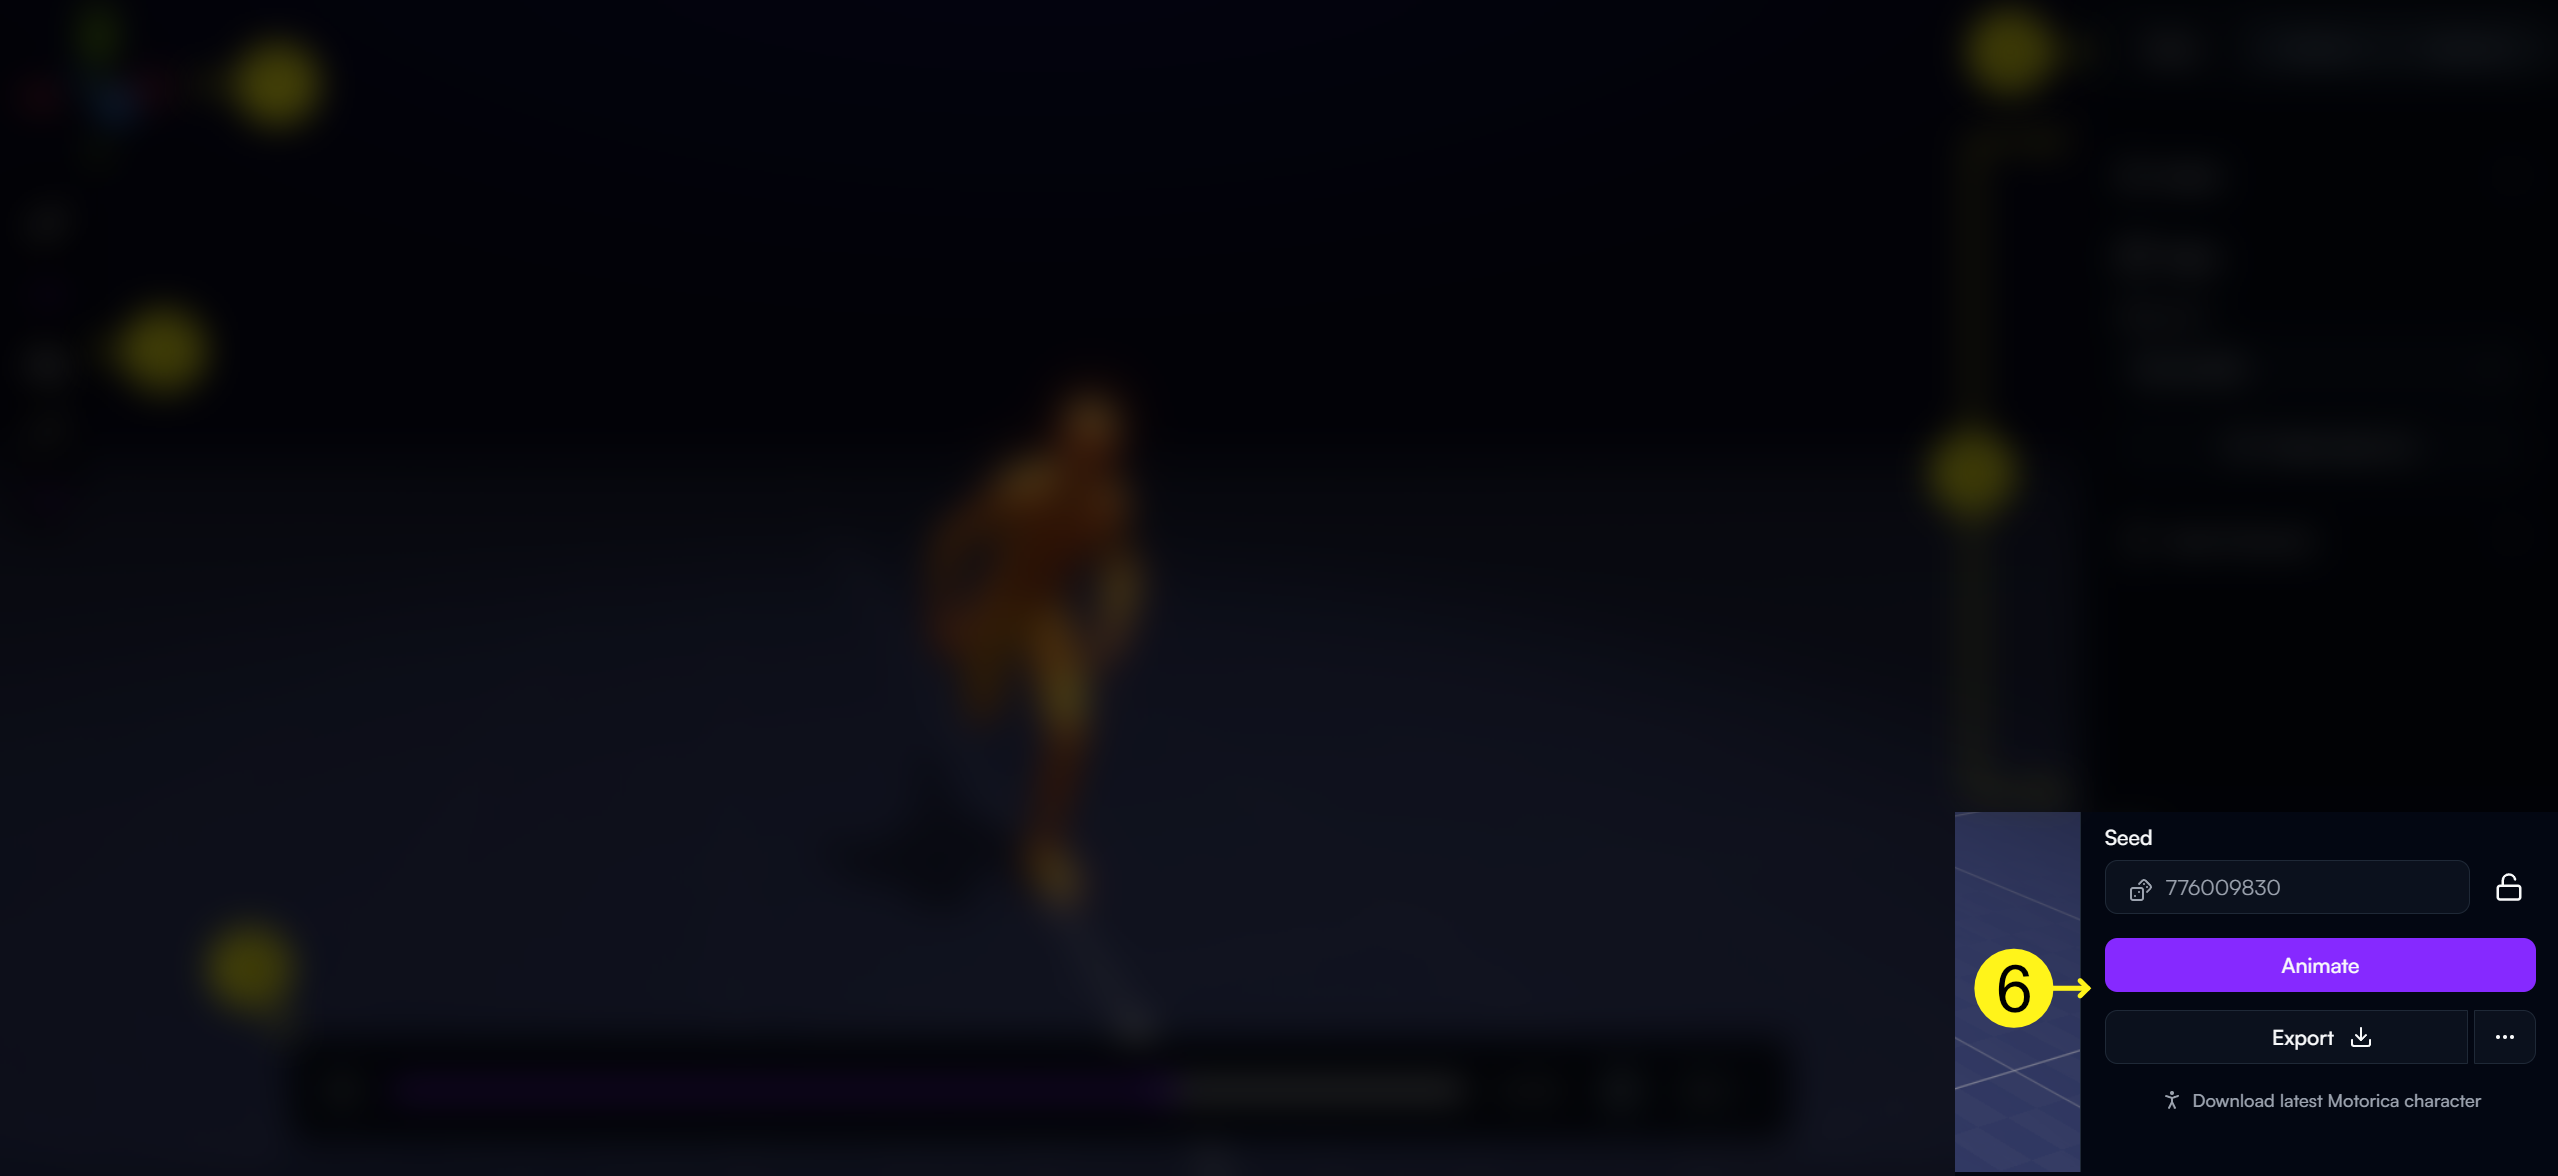
6. Animation and Seed Generator

Seed: the unique, randomized numerical value for generating your animation.
Animate button: generates your animation based on your chosen settings and the randomized seed.
Export button: exports the generated animation to your web browser's download folder.
Last updated